Help Center
Finding and Downloading Product Connect Enabled Components on the Trimble 3D Warehouse (v0.3)
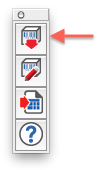
The quickest way to incorporate Product Connect enabled models into your project via the 3D Warehouse, is by using Product Connect's Get Products tool  (see Figure 1).

Figure 1 - The Get Products Tool in the Product Connect Toolbar.
Of course, SketchUp's Get Models tool  (View > Toolbars > Google; see Figure 2) works too, it's just a little trickier. So we've included a few tips below to help speed the process should you decide to go that route.
Figure 2 - The Get Models Tool in the Google Toolbar.
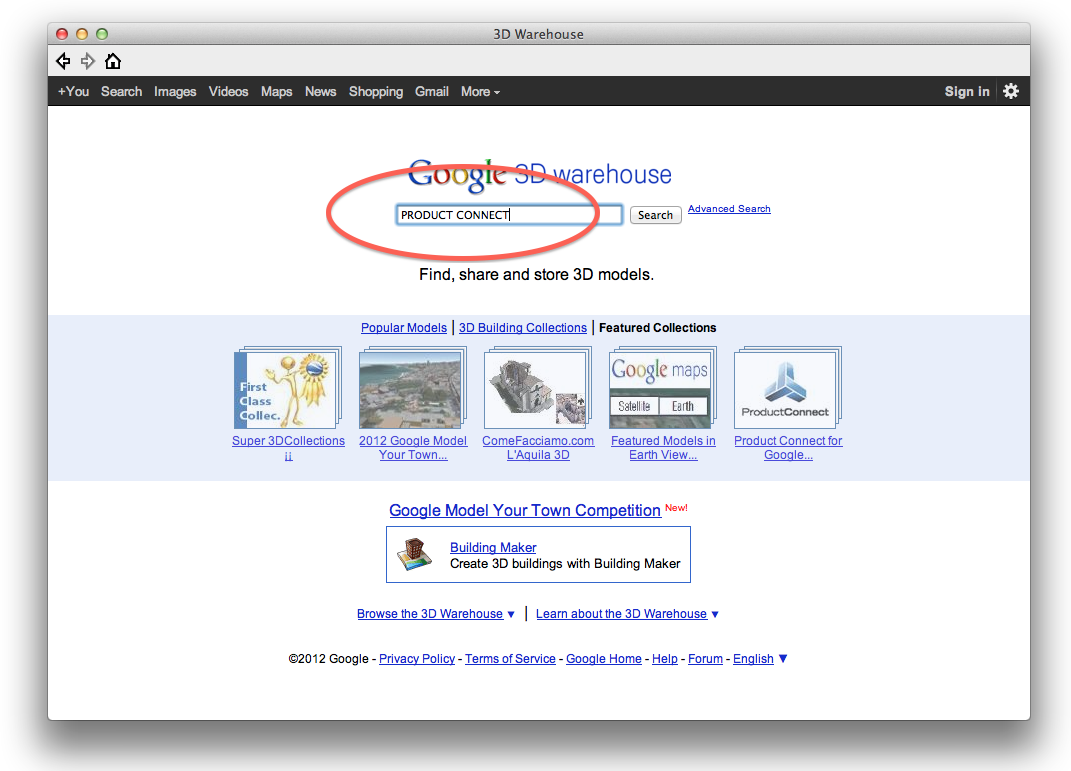
When you click Get Models  , SketchUp opens a 3D Warehouse web-dialog. You can search using the phrase “Product Connect” to browse through individual models matching that criteria (see Figure 3).

Figure 3 - Use the phrase “Product Connect” to search for models on the 3D Warehouse.
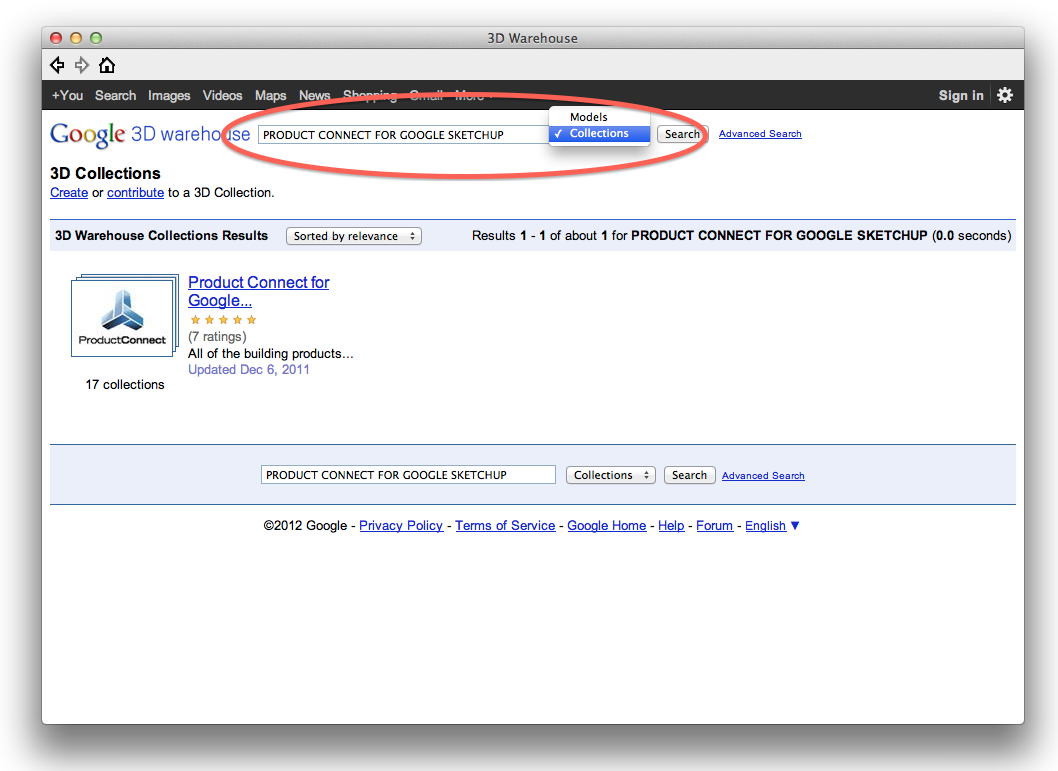
Or you can search for "Product Connect for SketchUp" and choose Collections from the drop-down next to the search bar (see Figure 4).

Figure 4 - You also have tho option to search for “Product Connect for SketchUp” collections.
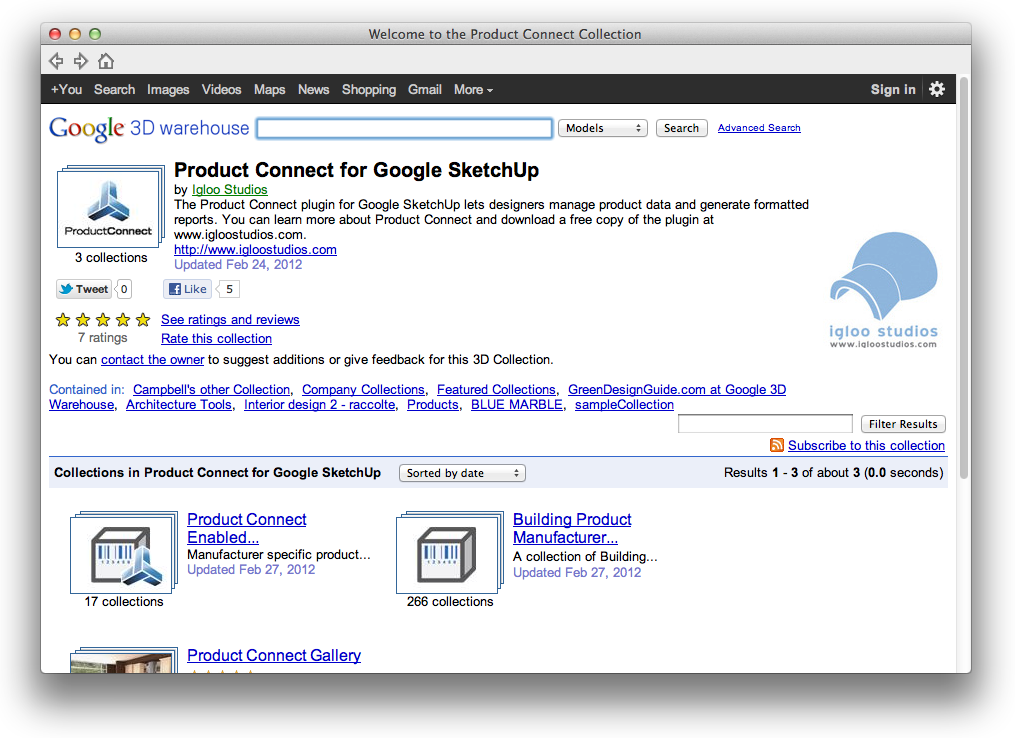
Then click through to the main Product Connect collection (see Figure 5) .

Figure 5 - The Product Connect for SketchUp collection contains Product Connect Enabled Components, Building Product Manufacturer Catalogs, and the Product Connect Gallery.
Once you’ve found a product that matches the specs you’re looking for, click the download link to import the component directly from the Warehouse, into your current SketchUp project.
Related Articles:
This is a Product Connect Support Page for:
Product Connect v. 0.3
Still using 0.2? We strongly recommend that you upgrade. Help articles for 0.2 are here.
Need SketchUp training?
Contact Us for online or in-person instruction.
