Help Center
Using the Report Maker Tool (v0.3)
Note: We've uploaded a few project files to the Product Connect Gallery for you to use when learning about Product Connect. The Quincy Kitchen Vignette is featured in the video above.
When you click Report Maker  , the tool scans your model for Product Connect enabled components, a process which may take a few seconds, depending on the complexity of the model.
The Report Maker tool is located in the Product Connect toolbar (View > Toolbars > Product Connect; see Figure 1); and is also located in the following menus:
Tools > Product Connect > Report Maker.
Plugins > Product Connect > Report Maker.
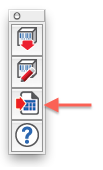
Figure 1. The Report Maker tool is located in the Product Connect Toolbar.
Note: The Product Connect Gallery includes a number of project files that we’ve uploaded to the Trimble 3D Warehouse in case you feel like using them to test Report Maker.
The Report Maker dialog then gives you the ability to choose which reports you want to export (see Figure 2). If Report Maker finds a product in the model that matches a report type, that report will be selected automatically.
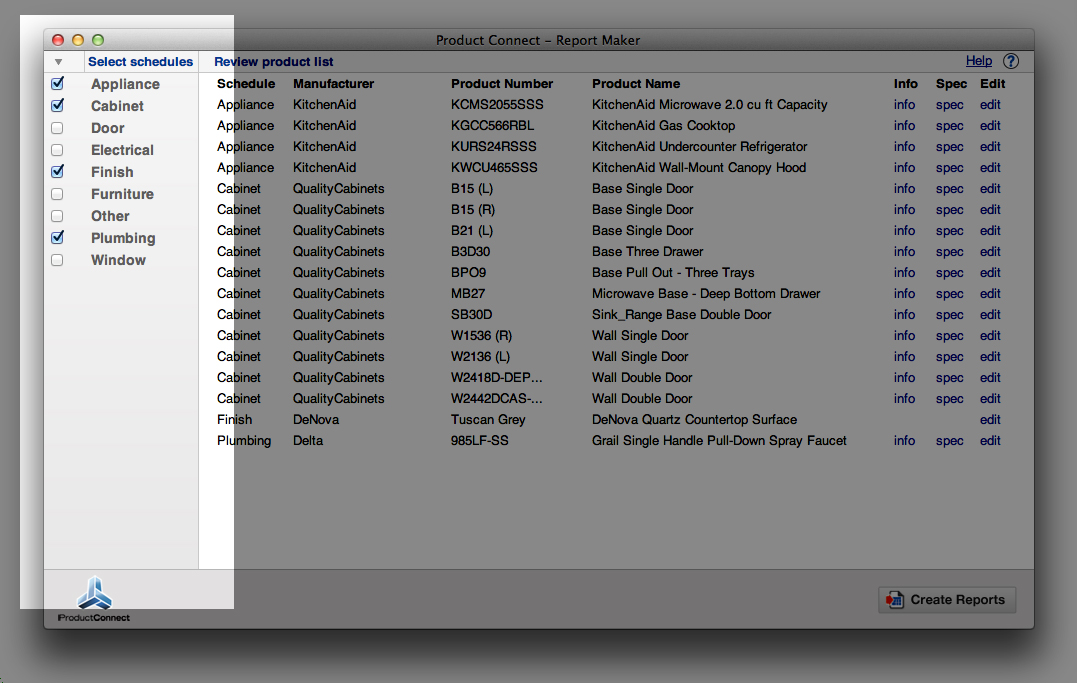
Figure 2 - The Report Maker Dialog, Highlighting Step 1: Selecting Product Schedules.
The Review pane will dynamically load a list of the components that will appear in the selected reports (see Figure 3).
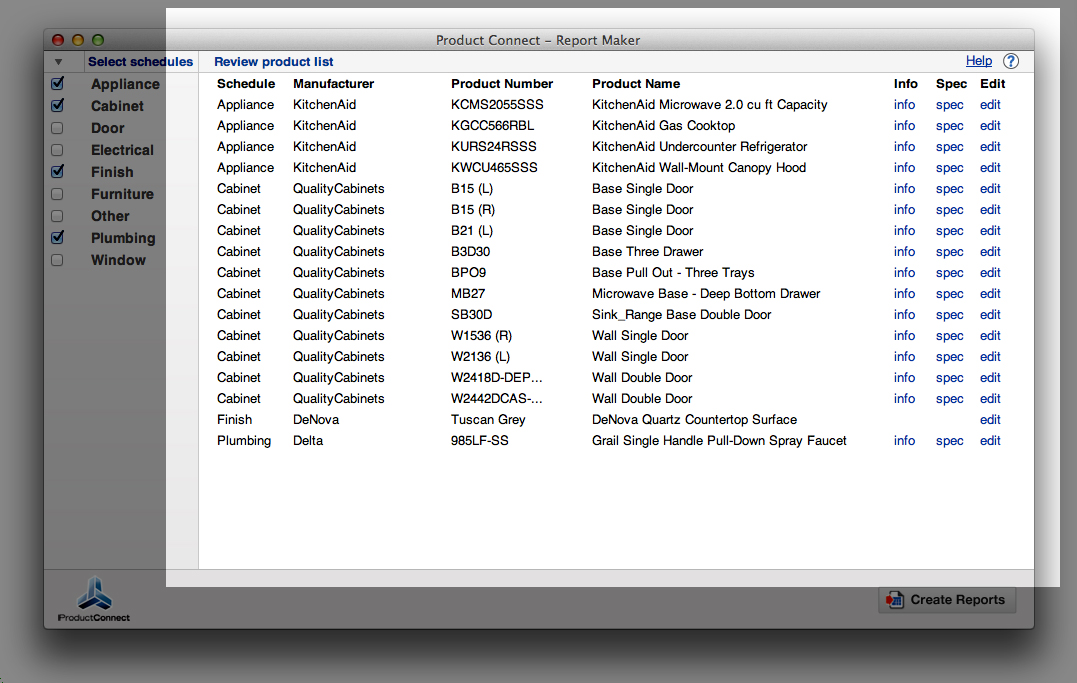
Figure 3 - The Report Maker Dialog, Highlighting Step 2: Reviewing the List of
Components that Report Maker has found in your model.
To the far right of each listed entry in the review pane, you'll see an edit link. Clicking the edit link will open a Product Editor window for that component. This feature is intended to allow you to make last minute changes before exporting your reports.
 .
.
This is a Product Connect Support Page for:
Product Connect v. 0.3
Still using 0.2? We strongly recommend that you upgrade. Help articles for 0.2 are here.
Need SketchUp training?
Contact Us for online or in-person instruction.