Help Center
Using the Report Maker Tool
Using the Report Maker Tool
When you click Report Maker
 , the tool scans your model for Product Connect enabled components, a process which may take a few seconds, depending on the complexity of the model.
Note: The Product Connect Gallery includes a number of project files that we’ve uploaded to the Google 3D Warehouse in case you feel like using them to test Report Maker.
The Report Maker dialog then presents you with the option to select all available product schedules, or choose specifically which schedules to export from your model (see Figure 1).

Figure 1 - The Report Maker Dialog, Highlighting Step 1: Selecting Product Schedules.
The Review pane will dynamically load a preview of the components in the model that will appear in the selected product schedules (see Figure 2).
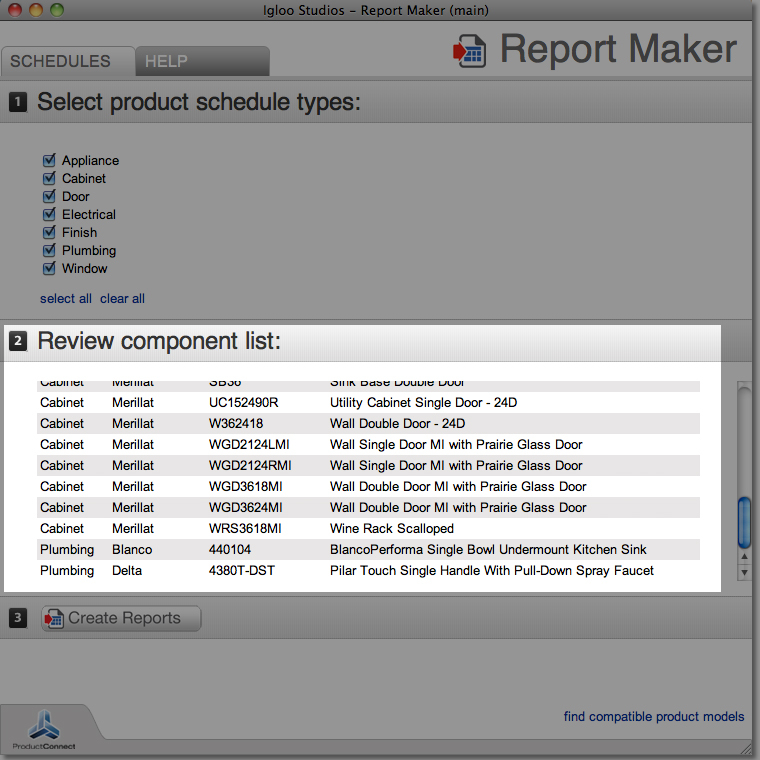
Figure 2 - The Report Maker Dialog, Highlighting Step 2: Reviewing the List of
Components that Report Maker has found in your model.
When you’re ready, click Create Reports.

Report Maker will generate the selected schedules and save them in CSV format to the same folder that your SketchUp model was saved in. (Note: Report Maker will not create a CSV file of a selected schedule unless at least one item appears in the report).
You can then open the CSV files in a spreadsheet editing application such as Excel, MAC Numbers or Google Spreadsheets to modify, add, or re-format the information.
TIP:
Keep in mind, when running Report Maker, that you have the option to pre-select specific components in the model, in which case, Report Maker will report on just those products.
With nothing selected, Report Maker will report on all of the Product Connect enabled components it finds in the model.
This is a Product Connect Support Page for:
Product Connect v. 0.2
Still using 0.2? We strongly recommend that you upgrade. Help articles for 0.2 are here.
Need SketchUp training?
Contact Us for online or in-person instruction.